
Getting Started With Sphero
For information about Coder Kids classes and camps, including online coding and gaming topics, visit register.coderkids.com/onlineclasses.
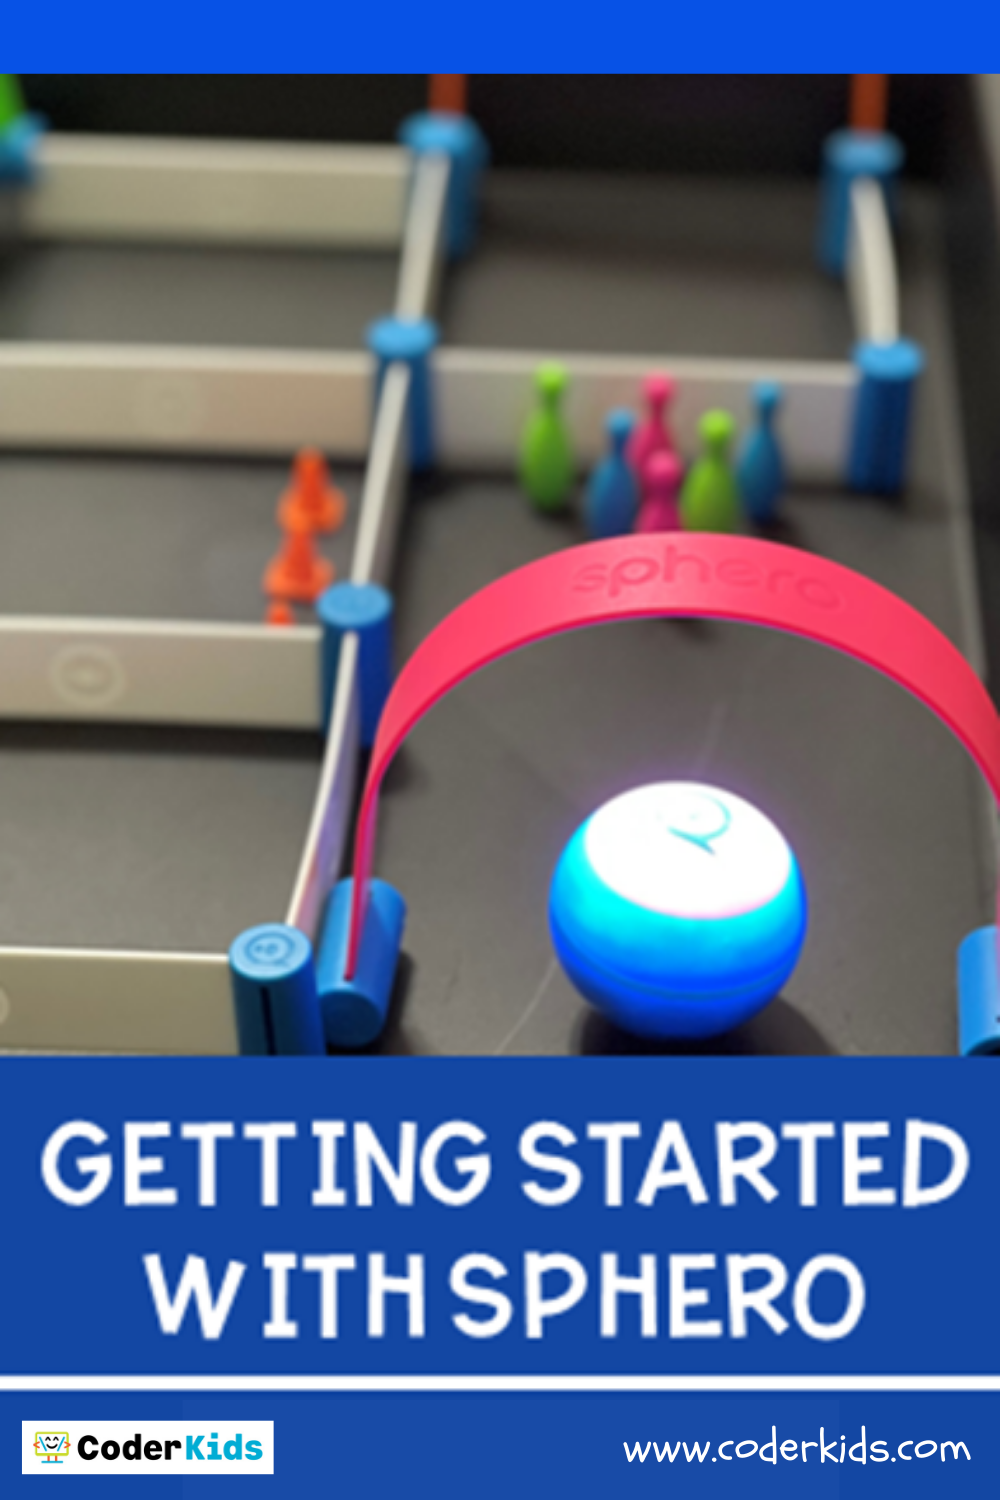
Robots are a really great way to integrate both coding content and STEM. There are so many different types of coding robots on the market and finding the right one for your child or classroom can be tricky. Sphero offers a few different types of robots that are fun to use and accessible for beginner to intermediate coders. Let’s learn how to get started with Sphero for beginners!
Selecting and Purchasing a Sphero Robot:
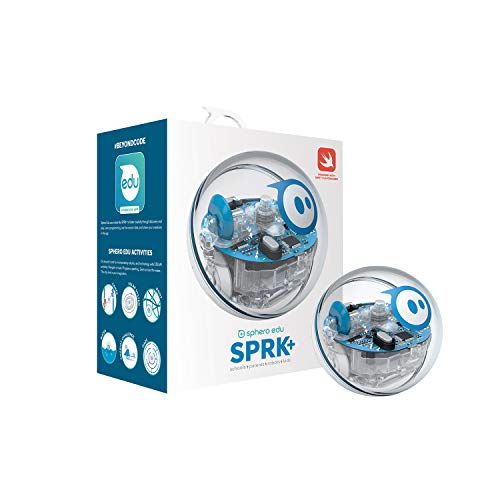
Sphero is a robotic ball that uses both block coding and JavaScript. There are several different Sphero robots to choose from. The Sphero Mini is a great budget friendly option, while the Sphero SPRK+ or Sphero Bolt are great options if you are looking for a larger robot with more coding options. The prices range from $50 to $200.


Charging your Robot:
Once you get your Sphero SPRK+ or Sphero Bolt robot, you will need to begin by charging your robot. You will do this by plugging the robot’s USB cable into the charging cradle. Then, plug the other end of the USB cable into a compatible USB power adapter and plug it into a wall outlet. Next, place your robot on the cradle with the heavy-side facing downward. The cradle should begin blinking a blue light and that indicates that your robot is charging. When the blue light stops blinking, your robot is fully charged and ready to use.
If you have a Sphero Mini, it charges differently. First you will need to carefully take off the outside covering of the Sphero Mini. You can place the robot in between your thumb and forefinger and then gently press down. Once you remove the outside covering, plug the USB cable into your robot. Then, plug the other end of the USB cable into a compatible power adapter and plug it into a wall outlet. The robot will blink blue to indicate that it is charging. When the blue light stops blinking, your robot is fully charged and ready to use.
Sphero Edu App:
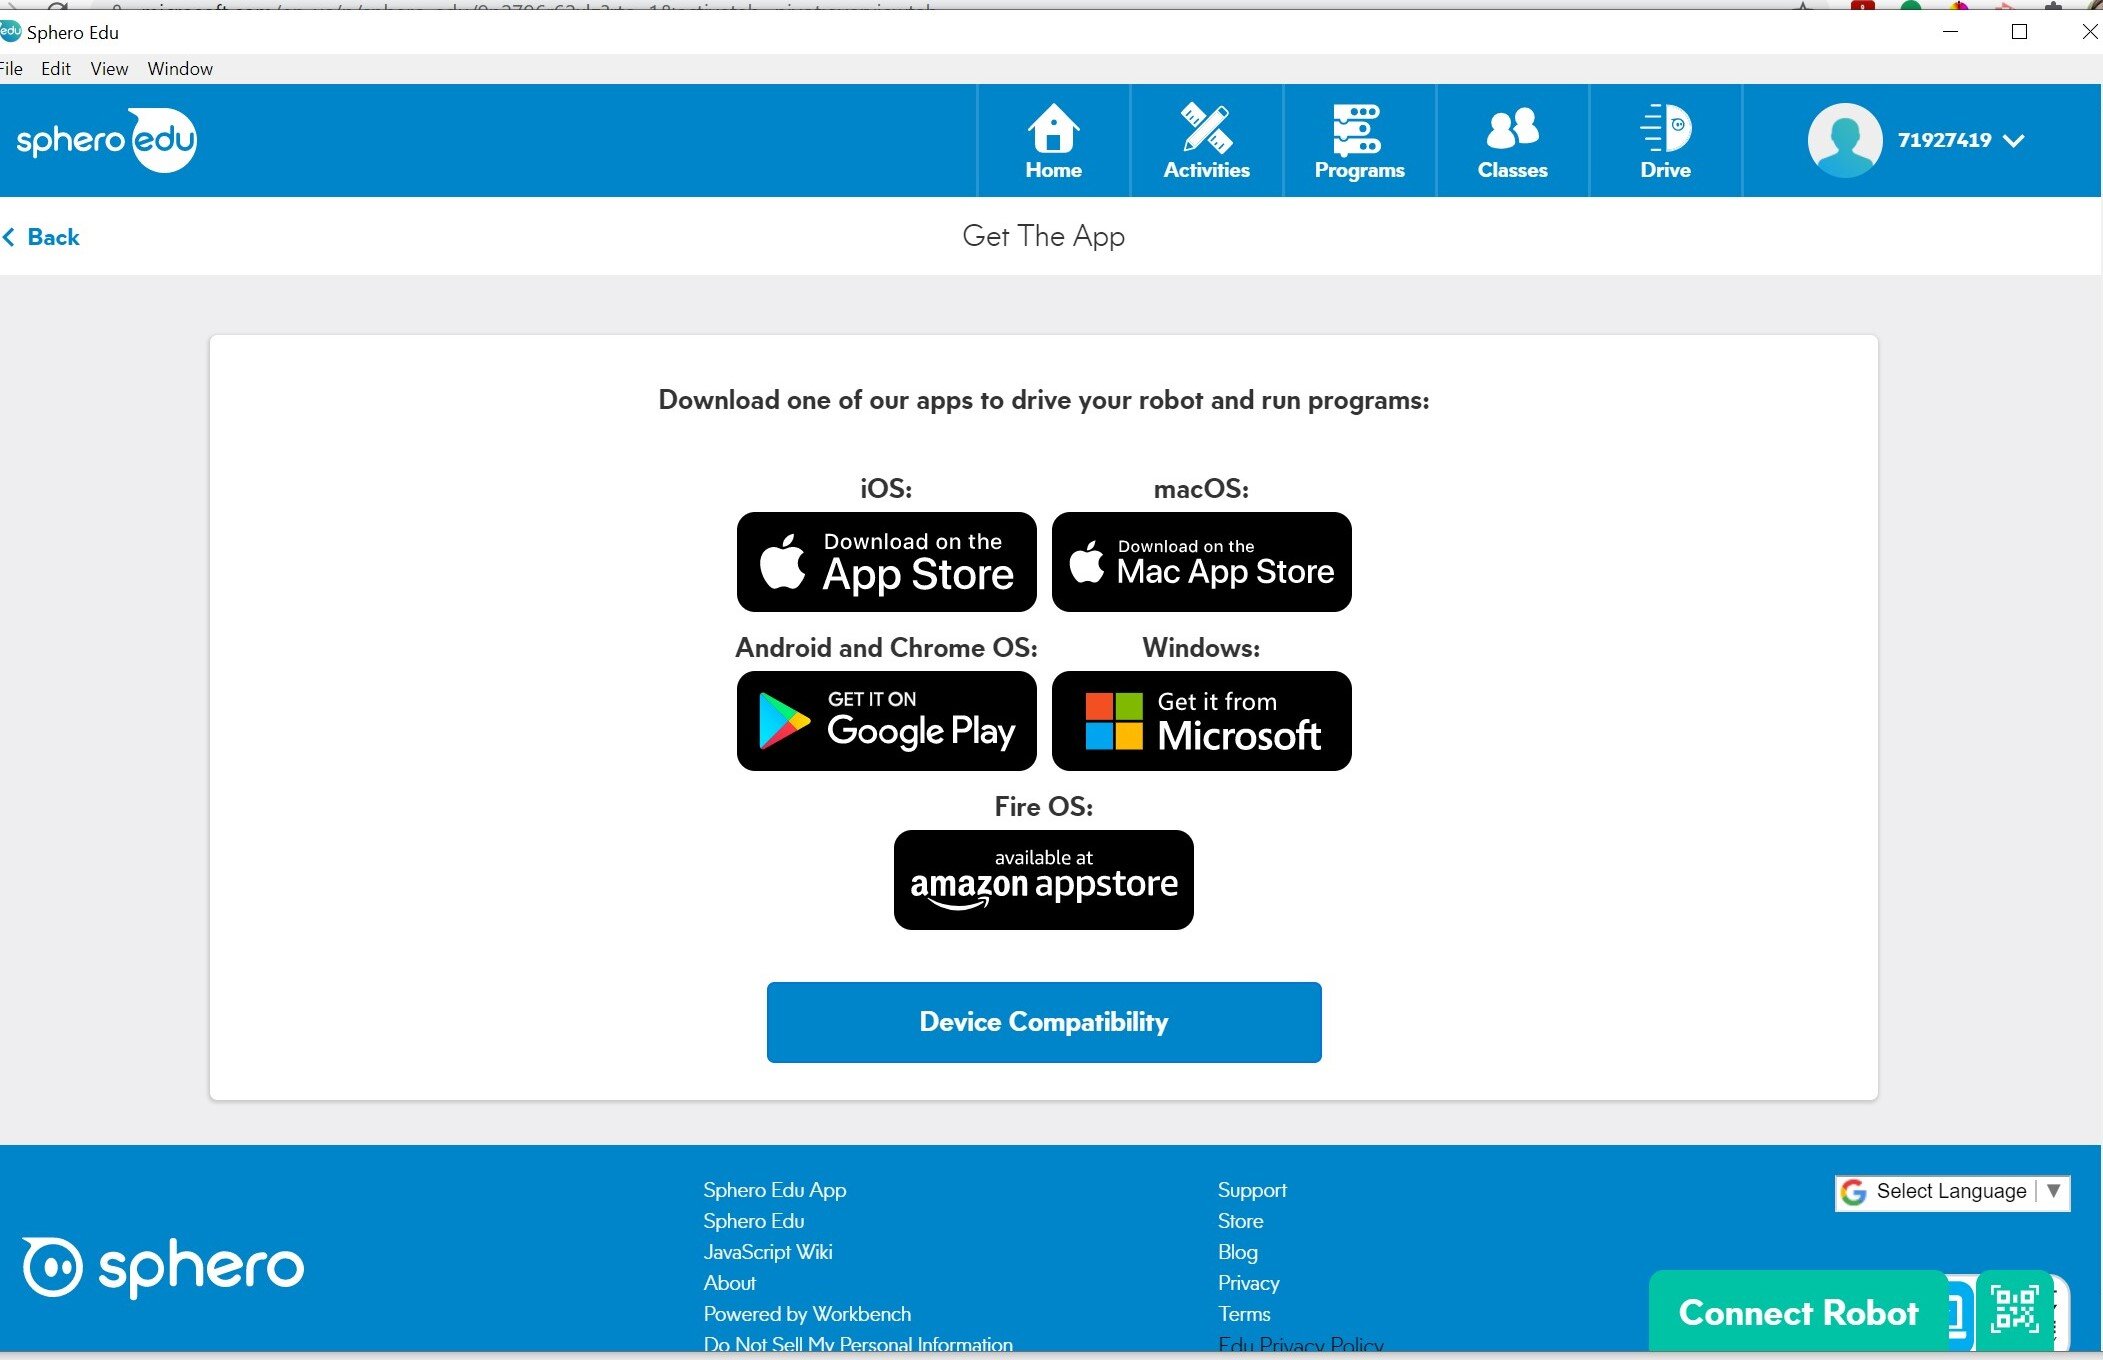
Now that your robot is fully charged, you are ready to begin. First you will need to download the app, so that you can begin to code your robot. You will need to download the latest version of the Sphero Edu app on your device. Sphero is compatible with iOS, macOS, Android and Chrome OS, Windows, and Fire OS. Sphero for education is great even for beginners and there are so many sphero projects that you complete.
If you will be using the mobile app there is an option to continue as a guest. This will allow you to explore the app without having to create an account. You can also begin to program your robot without having to create an account but it will not save the programs that you create. However, both the laptop and chromebook app will require you to setup a Sphero Edu account. It is free to sign up for the app, and it will save the programs that you create.
Connecting your Robot:
Now that you have the Sphero Edu app, you are ready to connect your robot. You will need to first open the Sphero Edu app and then click on the Connect Robot button. You will want to make sure that you hold your robot next to your device and then select your robot type.

After you select your robot, you will then click on the robot that you want to connect. If you have more than one robot, the robot closest to your device will be the first robot in the list. If this is the first time connecting your robot, it will need a firmware update. This update will automatically start to download.

Turning your Robot off:
When you are finished using your robot, you will need to turn it off. You can do this by clicking the button in the lower right hand corner of your screen. This button displays the name of your robot. After you click on the button, you will need to select the turn off robot option. This will turn off your robot and disconnect it from your device. If you do not plan on using your robot for an extended period of time, you will need to you the sleep robot option.


Programming your Robot:
Now for the fun part! You are ready to begin to drive and program your robot. I would suggest to start with the drive option. That way you can test out your robot and observe how it moves and functions. To drive your robot, you will select the drive option that is located on the top toolbar.

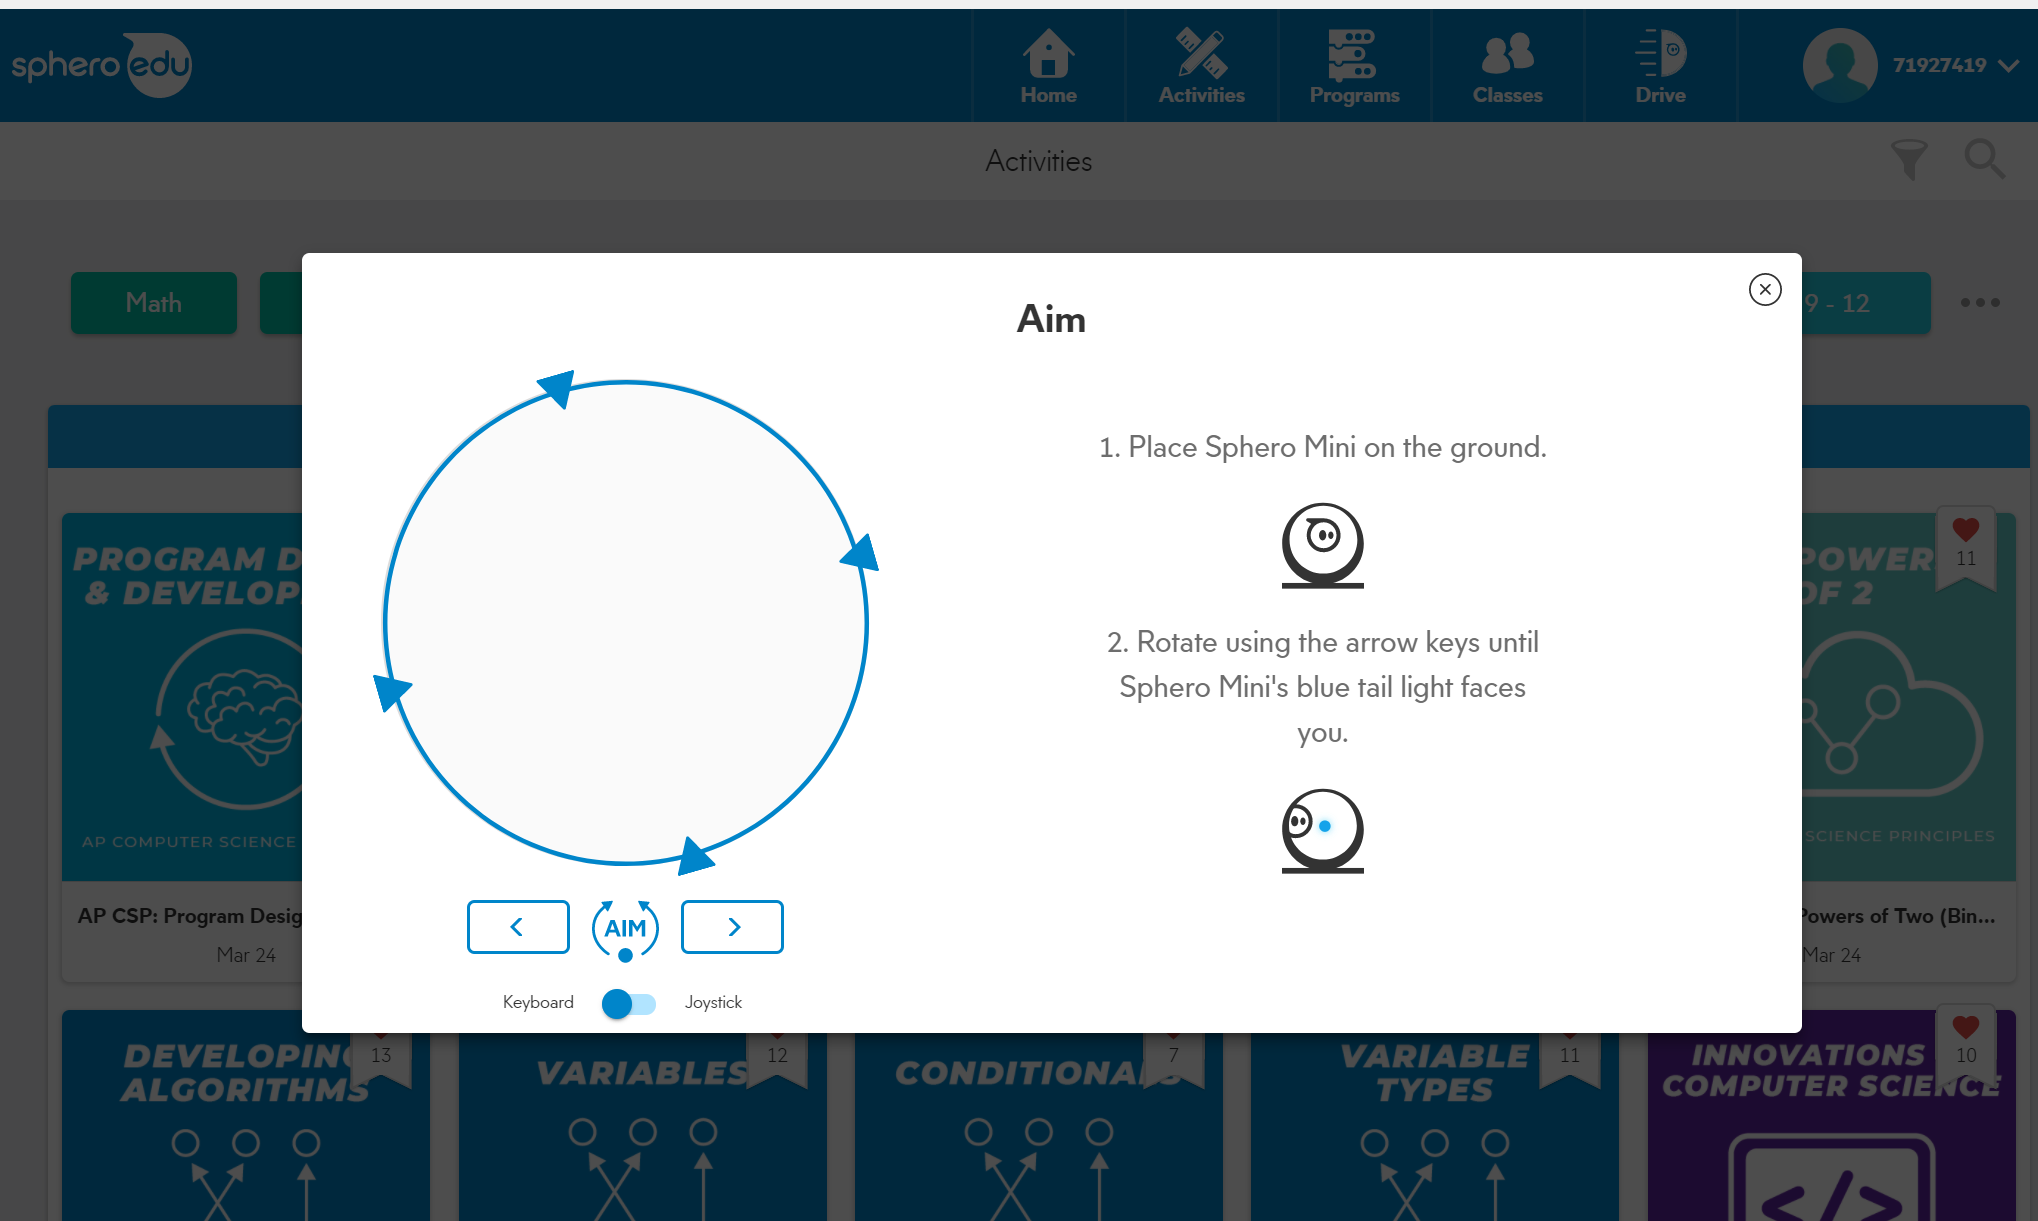
After you select the drive option, you will need to bein by aiming your robot. This will help ensure that your robot follows the appropriate directions. You will select the aim button and then you will rotate the arrows until the blue tail light is facing you. If you are using an iPad or tablet, you can rotate the arrows by touching the screen. If you are using a laptop or computer you will click on the left and right arrows on the screen.
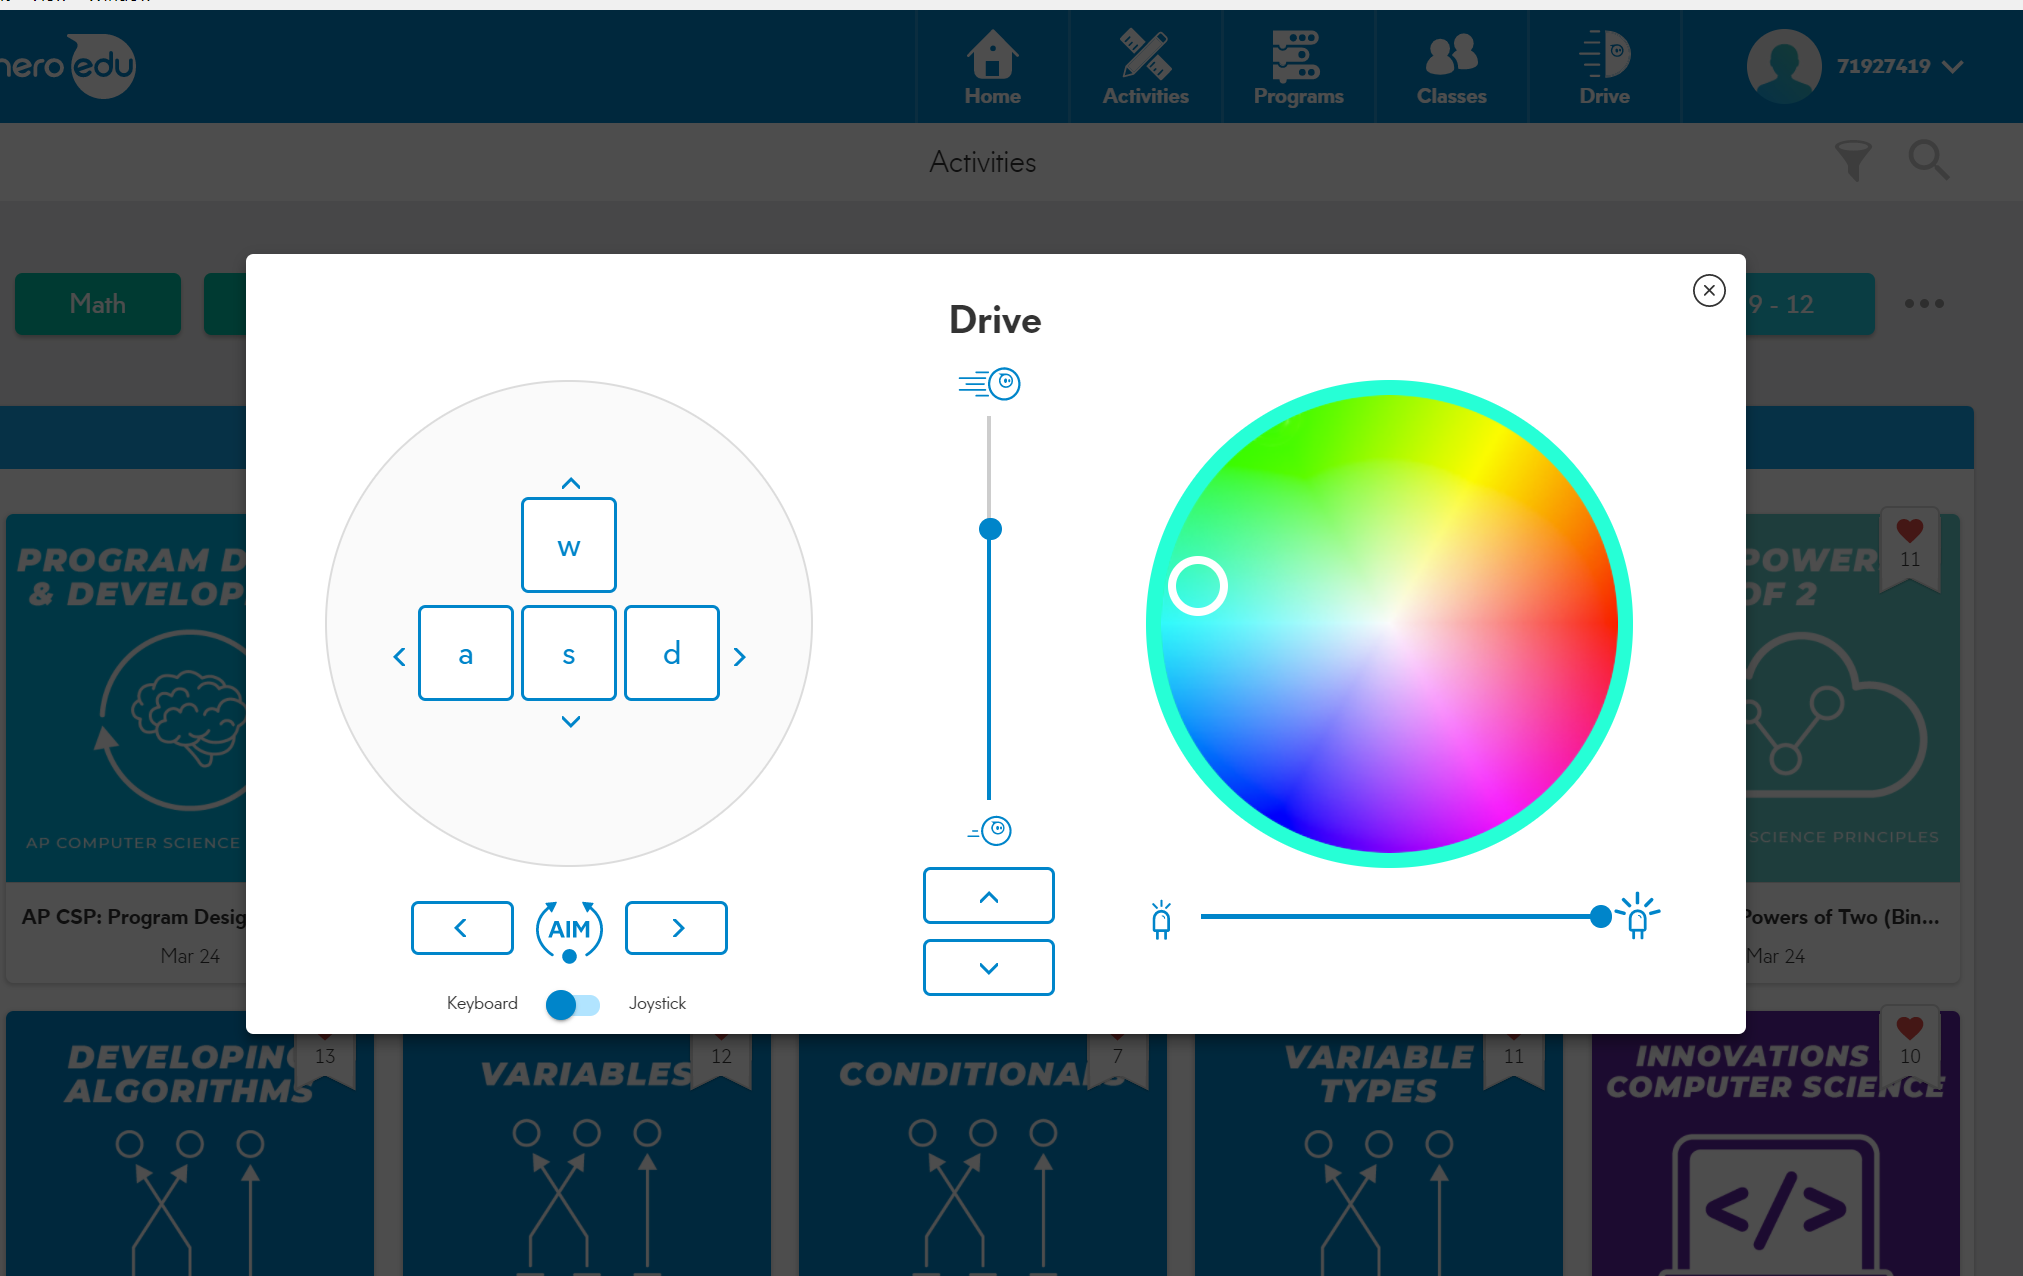
After you aim your robot, you can start to drive your robot around. If you are using an iPad or tablet, you will move your finger along the white circle on the screen to drive your robot. If you are using a laptop or chromebook, you will use the WASD keys on your keyboard to drive your robot. You can build an obstacle course and drive your robot around each of the obstacles.


When you are ready to program your robot, you can start by selecting the program option that is located on the top toolbar. If you select the all programs option, you can find programs created by sphero that you can use. You can also create your own program by selecting the create option. You will need to type in a name for your program and then select the type of program you wish to create. Lastly, you will select the type of robot that you will be coding.
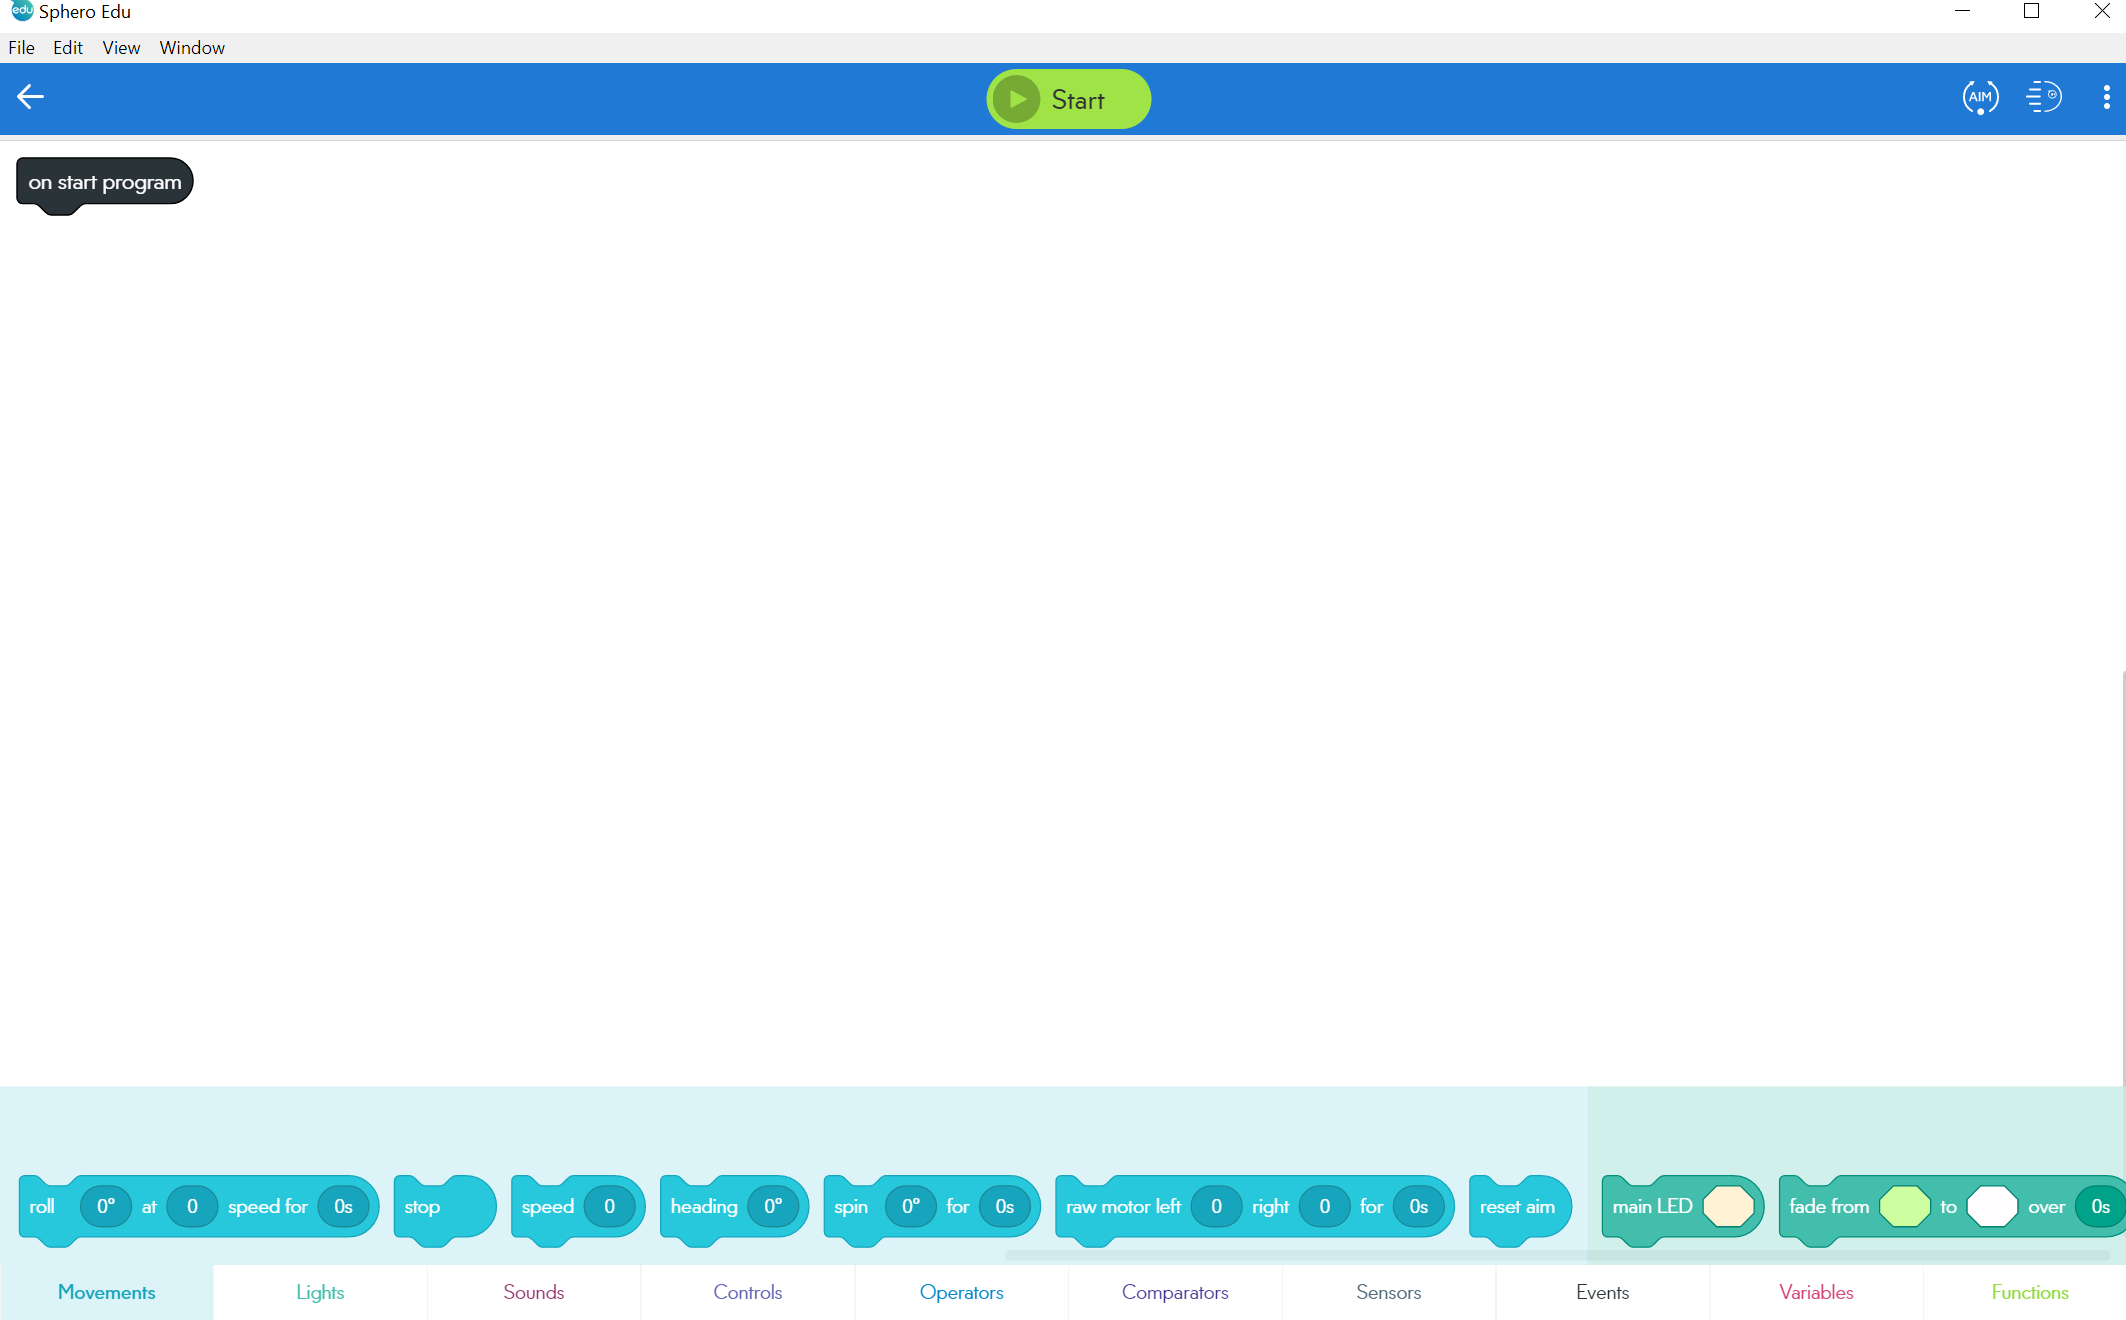
There are many different options that you can use when programming your robot. You can add movement, lights, sounds, and many other options to your program. The best way to get started is to try different things and see what works best.

Conclusion
Now that you finished creating your first program, you are ready to code even more. The Sphero Edu app is full of different programs, activities, and lessons that you can follow. The possiblities are endless!


As an Amazon Associate, Coder Kids earns from qualifying purchases.